
Archive for the ‘Plumbing’ Category
A Handheld Shower Head Helps Reach Hard to Get to Places
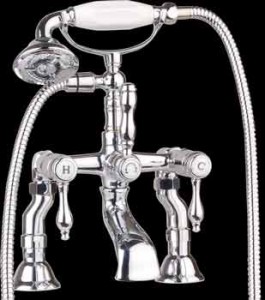 When I started to use a bath tub for all of my bathing and showering needs, I discovered that it was a bit of a challenge to get the water to certain parts of my back and to rinse out my hair. I didn’t want to be stuck sitting in the tub having a challenging time getting to the areas of my body that needed to be cleaned.
I started to look at some different types of fixtures that I could attach to my bath to make it so that I would be able to easily rinse off various parts of my body. I was able to find several fixtures that featured a handheld shower head unit that would be perfect for rinsing my hair and washing my back while I was getting clean in the bathtub.
I decided that I would go ahead and purchase one of these fixtures since they just seemed to make a lot of sense to me. Now I am able to get to all of the areas I want to when I am in my bathtub. I feel like I am so much cleaner when I take a bath and use this fixture to rinse off on a regular basis. It is wonderful to have this option.
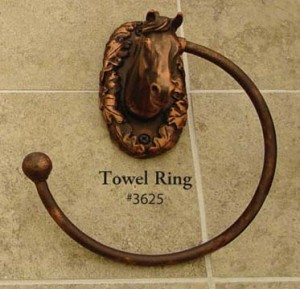
Western Theme Bathware Is Eyecatching
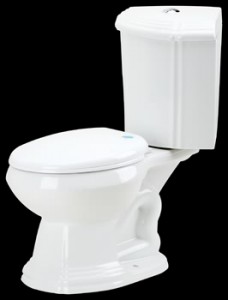
Limited Bathroom Space Requires Innovative Solutions
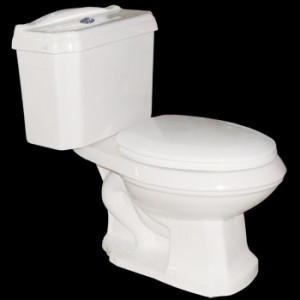
Ceramic Toilet Bolt Covers Add Vintage Appeal
Toilet Problem Troubleshooting
Feeling A Little Flushed?
Decorative Garden Sprinklers
With the advent of warm weather season, why not adopt a decorative garden sprinkler to spruce up your lawn or garden. Decorative Sprinklers and Hose Bibs create interest, and are sure attention grabbers. Be it a cast brass snail, turtle, frog, or other adornment, these cute creatures will add a little bling to your yard and garden decoration.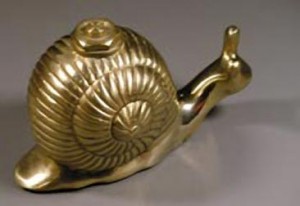
Making Potty Training Fun
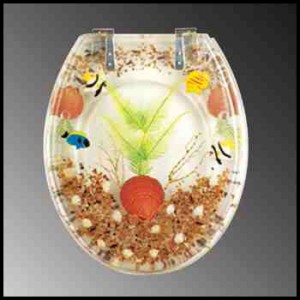
For a parent of a toddler, there’s nothing more vital that getting your kid quickly and properly potty trained. Not only is it a milestone for your kid, but it also relieves a lot of burden on your part. That’s why parents spend so much time and money trying to learn how to effectively and quickly potty train their children. But the simple fact is that kids are going to learn when they’re ready and no sooner.
But you’re not completely at the whim of the child. You can help make the process less scary and more fun by installing some decorative toilet seats. These can be covered in drawings of everything from sea life to dinosaurs. Pick something that is a favorite of your child. This way, they’ll have something to be excited about when they’re learning how to use the bathroom. And if you eventually want to return you bathroom to the look of a solid tone toilet seat cover, you can merely switch it out with minimal fuss.
Replacing A Toilet Seat Hinge
Many newer toilet seats come with plastic hinges. These are easy to maintain, and are functional, but many 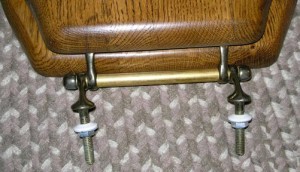 prefer the classic look that only Chrome or Brass Hinges offer. Installing a new hinge adds character, but it can be a bit daunting. Although most hinges for toilet seats are designed to mount on 5-1/2″ centers, the existing screw holes for attaching the hinge to the seat, most likely will not line up correctly. A dab of wood putty will fill the existing holes. A bit of paint or a stain pen should hide the patch in most cases. Turn the bottom portion of the seat upside down. Position the new hinge along the back edge and center using a ruler or tape measure. Use an awl to mark the position for the screws. Be sure to drill pilot holes for the screws. Use a depth gauge attachment to insure no mistakes. Be sure to check the screw length. Some hinge sets come with screws that may be too long for the depth of the toilet seat. Once the lower hinge is attached, it’s time to attach the upper hinge to the lid. This is where the job gets tricky. By positioning the lid atop the base, one can see that there is no easy way to mark the position of the upper screws. The solution to this is to get some tracing paper. Place the lid on the paper and trace the outline carefully. With scissors, cut out the template carefully. Now place the template on the lower seat atop the hinges. Center the pattern appropriately. Since tracing paper is somewhat transparent, you can see where the hinge holes need to be. Using a Sharpie, dot the position of the hinge holes carefully. Now turn the lid upside down. Remember to flip the template as well. Mark the top with the awl, drill pilot holes, and attach the top. Congratulations, you have now successfully finished your toilet hinge replacement.
I Love Classic Bathtubs
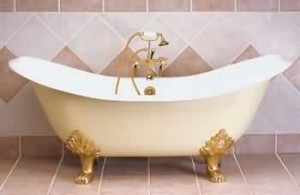
There’s nothing quite like taking a relaxing bubble bath in an old fashioned bathtub. I think of all the old fashioned bathtub designs, clawfoot bathtubs are my favorite. When I was little I can remember taking a bath in the clawfoot bathtub at my grandma’s house, and I was always fascinated with the idea of a bathtub that had feet. In fact, my grandma used to tease me that while I was sleeping, the bathtub would get up and walk around the house! I even remember waking up during the middle of the night, running to the bathroom, and making sure the bathtub was still there!
When I had my own house I knew I wanted a clawfoot bathtub of my own. It took me a while to track down a vintage bathtub that would fit well in my bathroom, but when I did, I ordered it right away. Now I can enjoy a good soak just like I used to when I was a little girl!
