
Archive for May, 2009
Making Potty Training Fun

For a parent of a toddler, there’s nothing more vital that getting your kid quickly and properly potty trained. Not only is it a milestone for your kid, but it also relieves a lot of burden on your part. That’s why parents spend so much time and money trying to learn how to effectively and quickly potty train their children. But the simple fact is that kids are going to learn when they’re ready and no sooner.
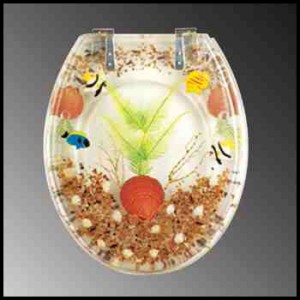
But you’re not completely at the whim of the child. You can help make the process less scary and more fun by installing some decorative toilet seats. These can be covered in drawings of everything from sea life to dinosaurs. Pick something that is a favorite of your child. This way, they’ll have something to be excited about when they’re learning how to use the bathroom. And if you eventually want to return you bathroom to the look of a solid tone toilet seat cover, you can merely switch it out with minimal fuss.
The Rules of Horseshoe

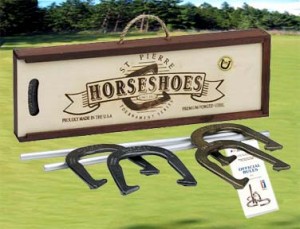
For summer fun, don’t forget that the game of horseshoes is a great option for the whole family. Horseshoes is an ideal game for two or more people. The only equipment that’s required in a horseshoe game is four horseshoes, one stake, and a little bit of room. After that’s acquired, each person takes turns throwing his or her horseshoe. The goal is to come as close to the stake as possible. Point scoring differs slightly between amateur and professional play, but generally it is three points for a ringer (when a horseshoe encircles the stake) and one point for coming closest to the stake.
In amateur play, a leaner (when a horseshoe literally leans on the stake) is worth two. In professional play, this is often considered one point. If both parties throw a ringer, they generally cancel out. That is, each player does not score three points. Play can go to any agreed upon number, but the most common benchmark is twenty-one. A player must win by two. Players are only awarded points if a horseshoe is within six inches of the stake. But again, these rules are often altered or tweaked to accommodate games that are just for fun.
Replacing A Toilet Seat Hinge
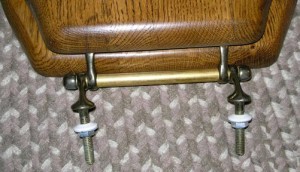
Many newer toilet seats come with plastic hinges. These are easy to maintain, and are functional, but many  prefer the classic look that only Chrome or Brass Hinges offer. Installing a new hinge adds character, but it can be a bit daunting. Although most hinges for toilet seats are designed to mount on 5-1/2″ centers, the existing screw holes for attaching the hinge to the seat, most likely will not line up correctly. A dab of wood putty will fill the existing holes. A bit of paint or a stain pen should hide the patch in most cases. Turn the bottom portion of the seat upside down. Position the new hinge along the back edge and center using a ruler or tape measure. Use an awl to mark the position for the screws. Be sure to drill pilot holes for the screws. Use a depth gauge attachment to insure no mistakes. Be sure to check the screw length. Some hinge sets come with screws that may be too long for the depth of the toilet seat. Once the lower hinge is attached, it’s time to attach the upper hinge to the lid. This is where the job gets tricky. By positioning the lid atop the base, one can see that there is no easy way to mark the position of the upper screws. The solution to this is to get some tracing paper. Place the lid on the paper and trace the outline carefully. With scissors, cut out the template carefully. Now place the template on the lower seat atop the hinges. Center the pattern appropriately. Since tracing paper is somewhat transparent, you can see where the hinge holes need to be. Using a Sharpie, dot the position of the hinge holes carefully. Now turn the lid upside down. Remember to flip the template as well. Mark the top with the awl, drill pilot holes, and attach the top. Congratulations, you have now successfully finished your toilet hinge replacement.